How to Check and Set Tire Pressure
How to check and set tire pressure in 5 minutes: find the cold PSI on the door jamb, why cold matters, what the TPMS light really warns.

Checking and setting tire pressure is one of the easiest pieces of car maintenance you can do yourself, and one of the most overlooked. It takes about five minutes, costs almost nothing, and keeps your tires safer while saving you money. Underinflated tires run hotter, wear out unevenly, and can fail at speed. The U.S. Department of Energy reports that keeping your tires inflated to the proper pressure can improve gas mileage by about 0.6% on average and up to 3% in some cases.
This guide walks you through how to check tire pressure and set it correctly, step by step. You will learn what tools you need, where to find the right PSI for your vehicle, why you should always check tires when they are cold, what the dashboard warning light is telling you, and how often to do it. No jargon, no guesswork.
What You'll Need
You only need two things to check and set tire pressure, and both are inexpensive. Many drivers already have them in the garage.
- A tire pressure gauge. There are three common types. A pencil (stick) gauge is the cheapest and slides out a small bar to show the reading. A dial gauge has a round analog face that is easy to read. A digital gauge shows the number on a screen and is usually the most accurate and the most beginner-friendly. Any of the three works fine. Auto parts stores sell them for a few dollars.
- An air source. This can be a home air compressor, a portable 12-volt inflator that plugs into your car's outlet, or the air pump at a gas station. Gas station pumps often have a built-in gauge, but a separate handheld gauge gives you a more reliable final reading.
- Optional but handy: a pen and paper, or your phone's notes, to write down your target PSI and what each tire reads.
Where to Find the Correct Tire Pressure
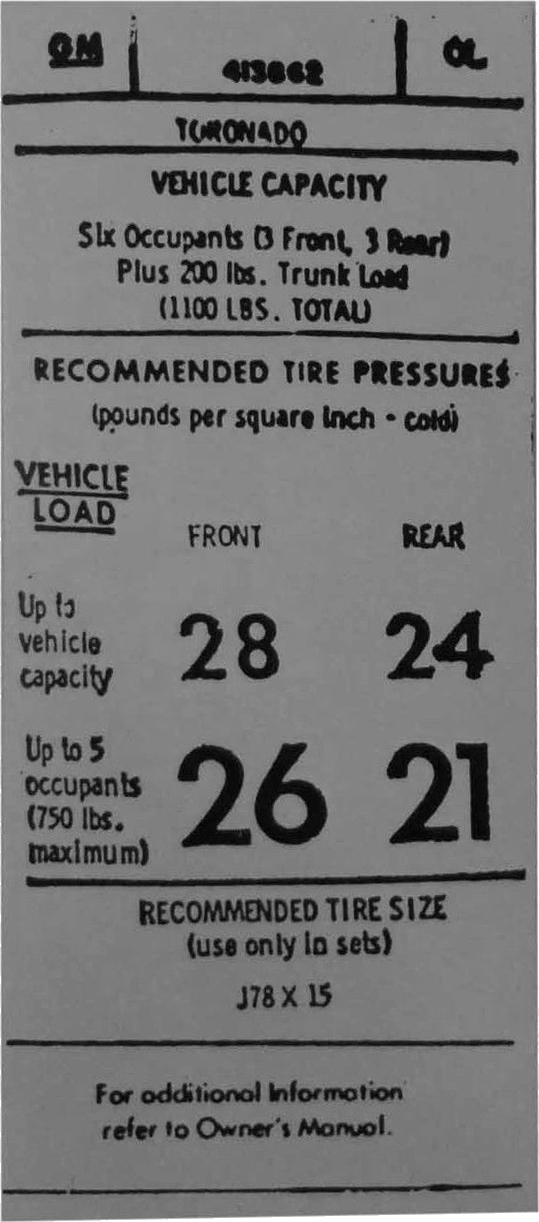
Your vehicle's manufacturer sets the correct pressure, not the tire maker. According to the National Highway Traffic Safety Administration (NHTSA), the recommended inflation pressure is printed on the Tire and Loading Information label on the driver's side door edge, and it is also listed in your owner's manual.
Open the driver's door and look at the frame near where the door latches. You will see a label listing the recommended cold PSI. It sometimes shows a different number for the front and rear tires, so check both. Your owner's manual lists the same figures, plus the correct pressure for the spare. Use your own vehicle's numbers rather than a general figure you read somewhere.
Why You Check Tire Pressure When Tires Are Cold
Air expands as it heats up. Driving warms the air inside your tires through friction, which raises the pressure reading. If you check right after a drive, the gauge shows a higher number than the tire's true resting pressure, and you can end up underinflating without realizing it.
That is why manufacturers set the recommended PSI for a cold tire. NHTSA defines a cold tire as one that has not been driven for at least three hours. Tire maker Bridgestone adds that a tire also counts as cold if the vehicle has been driven less than a mile at moderate speed. The easiest time to check is first thing in the morning, before you drive anywhere.
How to Check and Set Tire Pressure: Step by Step
Work through these steps once a month. The whole routine takes about five minutes for all four tires.
- Start with cold tires. Check in the morning, or wait at least three hours after driving. If you must drive to an air pump, keep the trip under a mile so the tires stay close to cold.
- Find your target PSI. Read the recommended cold pressure off the driver's door jamb label or owner's manual. Write down the front and rear numbers if they are different.
- Unscrew the valve cap. Each tire has a valve stem with a small cap. Remove it and keep it somewhere safe, like a pocket, so it does not roll away and get lost.
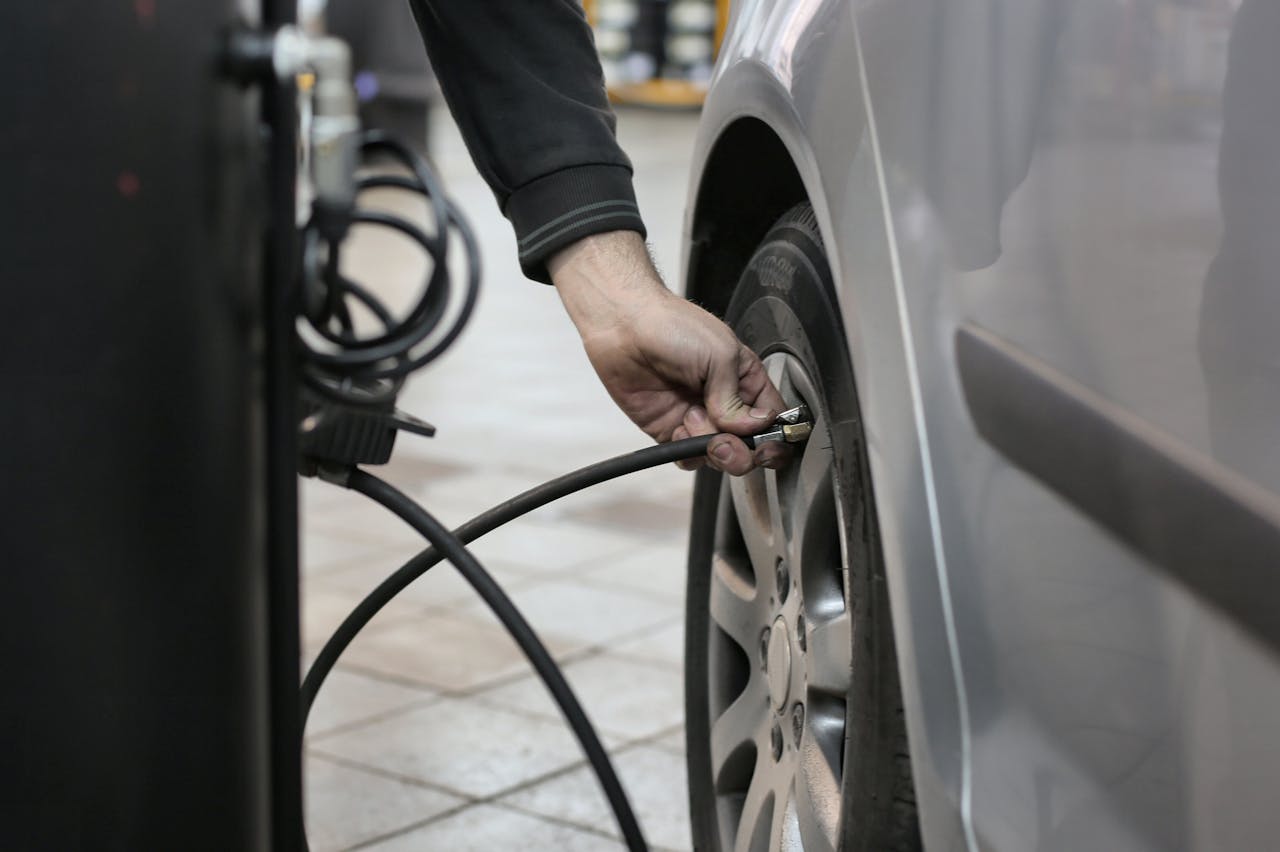
- Press the gauge onto the valve stem. Push it on straight and firmly until the hissing stops. A short hiss as you seat the gauge is normal; a continuous hiss means the gauge is not square on the stem. Read the PSI shown on the gauge.
- Compare the reading to your target. If the tire is below the target PSI, you need to add air. If it is above target, you need to release a little. If it matches, screw the cap back on and move to the next tire.
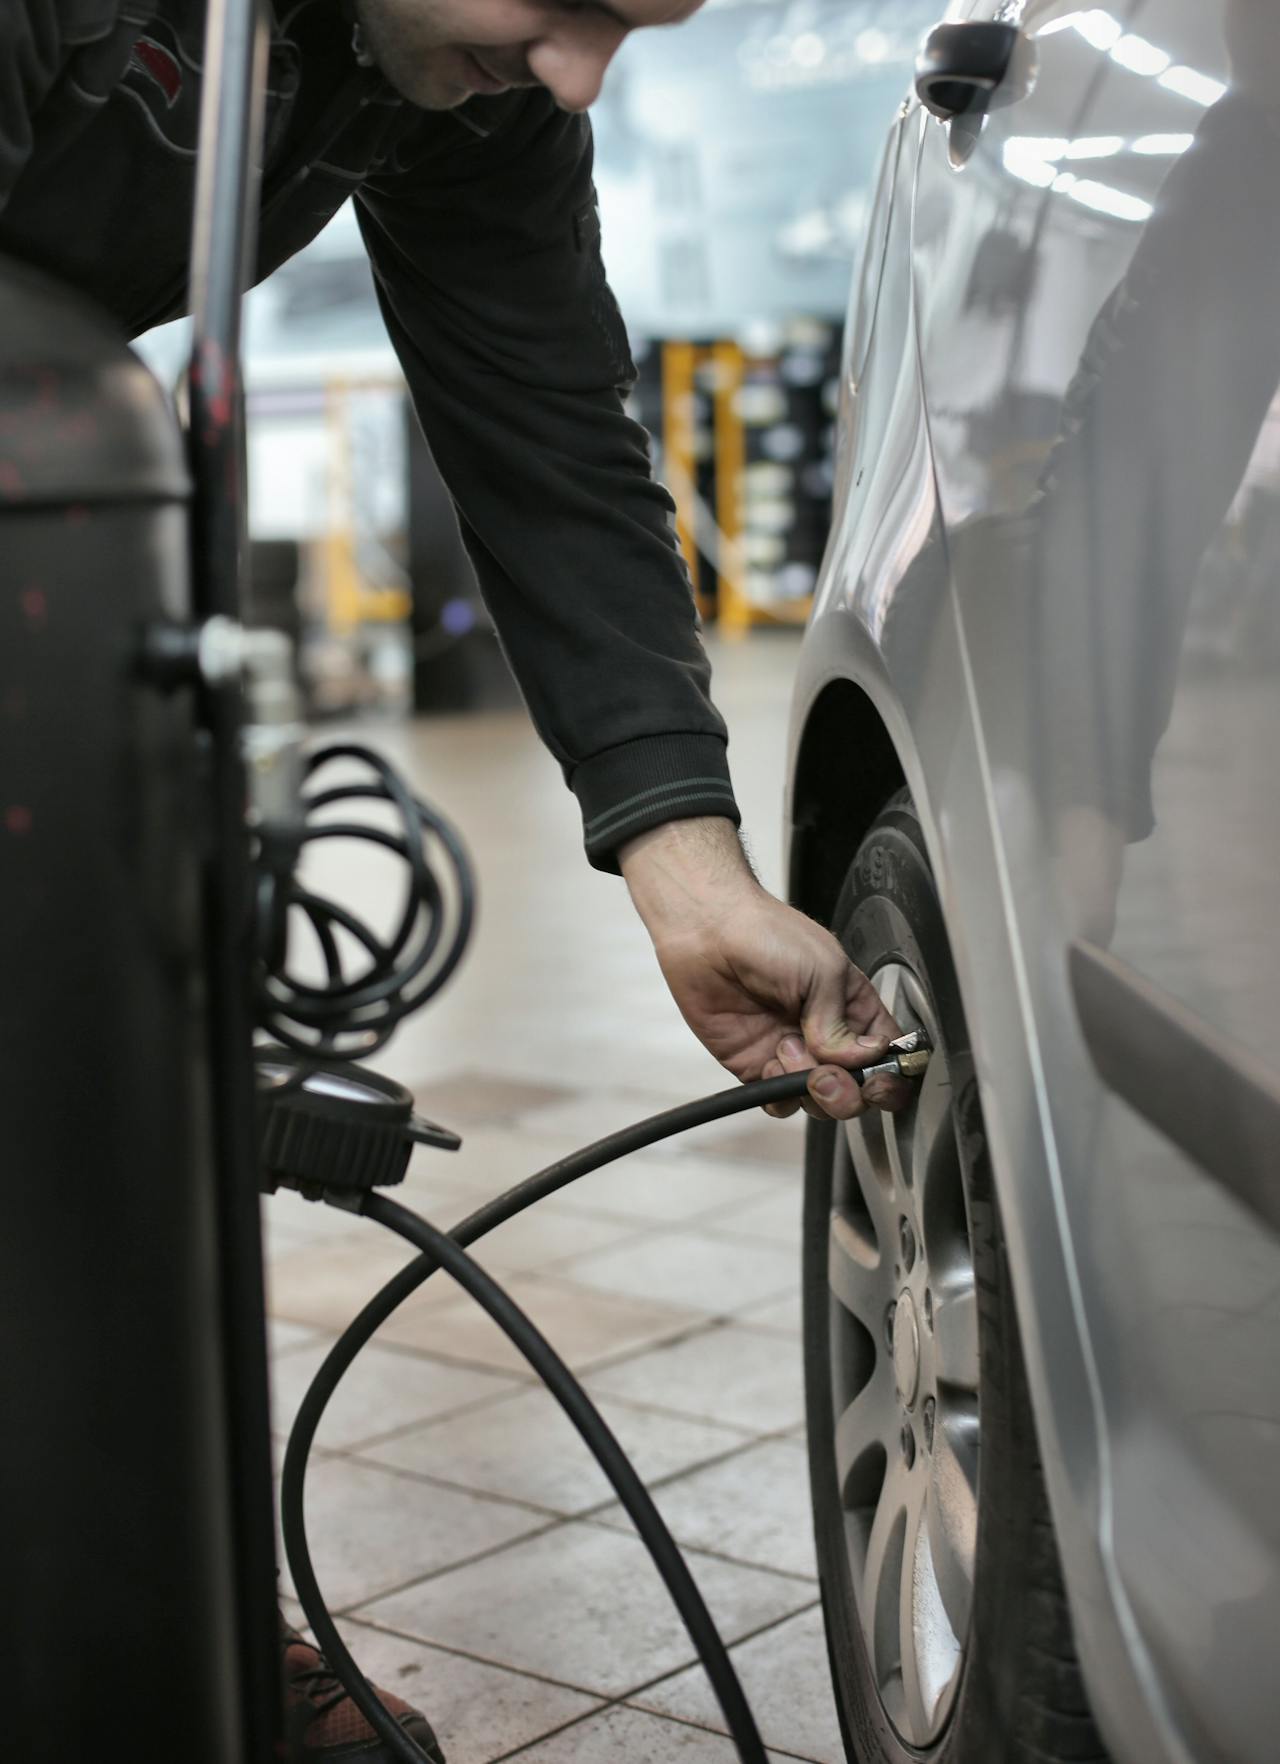
- Add air if the tire is low. Attach the air hose to the valve stem and add air in short bursts. Stop and re-check with your own gauge often, because it is easy to overshoot. Bring the tire up to the recommended cold PSI.
- Release air if the tire is high. Press the small metal pin in the center of the valve stem with the back of your gauge or a fingernail to let a little air escape, then re-check. Repeat until you reach the target. Never drive on overinflated tires.
- Re-screw the valve cap and repeat for all four tires. The cap keeps dirt and moisture out of the valve. Work around the car in order so you do not skip one.
- Check the spare tire. NHTSA recommends checking the spare too. A spare slowly loses pressure while it sits, and a flat spare is useless on the day you actually need it. Check your owner's manual for the spare's correct PSI, which is often higher than the road tires.
Tips and Safety Warnings
A few extra pointers make this routine easier and more accurate:
- Check the tread while you are down there. If you can see uneven wear, the inner edge worn more than the outer, or a bulge in the sidewall, have a shop inspect the tire.
- Filling at a gas station after driving? The tires are warm, so the reading runs a few PSI high. Bridgestone suggests filling to a few PSI above the cold target, then rechecking once the tires have cooled and adjusting.
- Do not let air out just because a warm tire reads high after a long drive. That is normal heat expansion. Judge pressure by the cold reading.
- Replace a valve cap if it is cracked or missing. It is a cheap part that protects the valve from grit and leaks.
What the Tire Pressure Warning Light Means
Most vehicles built since the 2008 model year have a Tire Pressure Monitoring System (TPMS). It shows a dashboard warning light shaped like a horseshoe or a cross-section of a tire with an exclamation point inside.
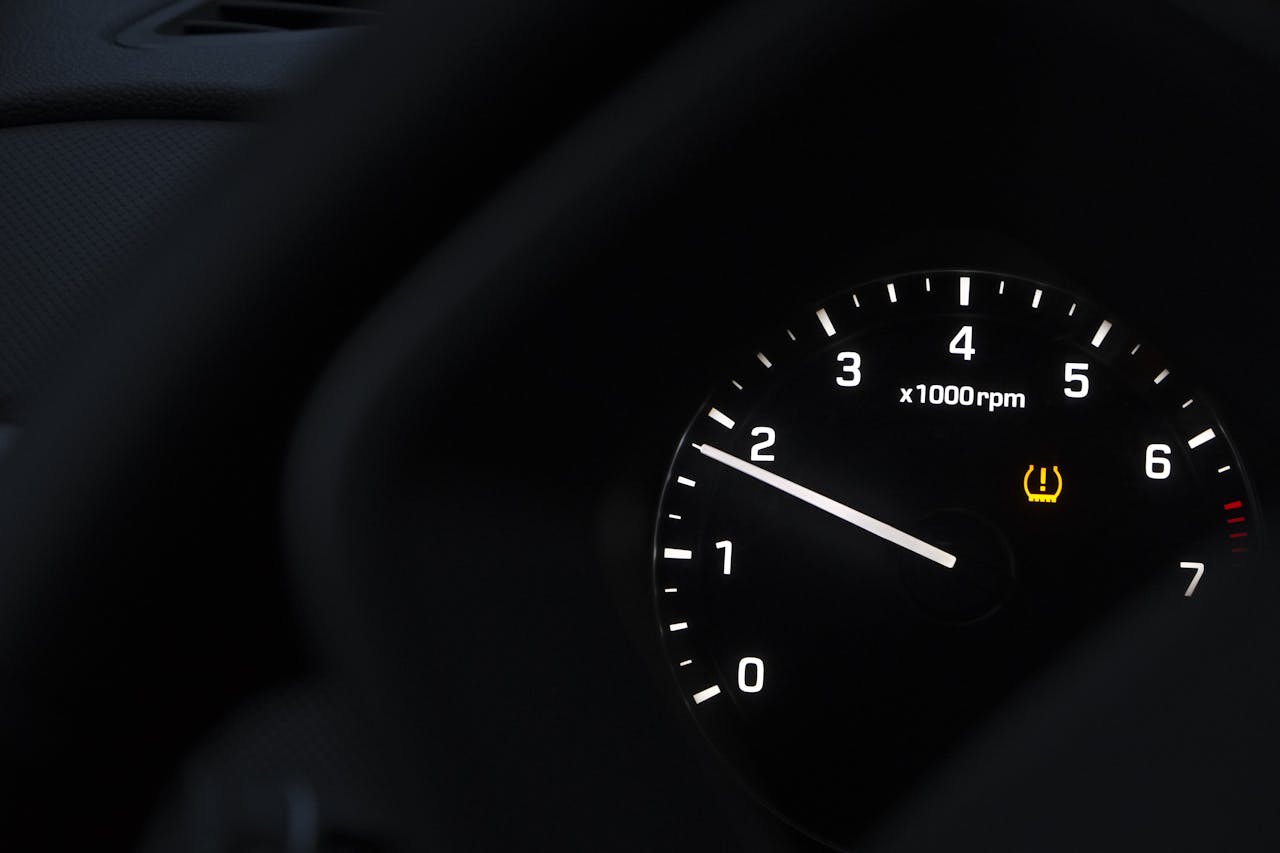
Under U.S. federal safety standard FMVSS No. 138, the TPMS must warn you when a tire is 25 percent or more below the manufacturer's recommended cold inflation pressure. So the light is a late alarm, not an early one. A tire can be noticeably low and still not trigger it. That is the whole reason to check pressure monthly with a gauge instead of waiting for the dashboard.
When to See a Pro
Checking and setting pressure is a do-it-yourself job. A few situations call for a tire shop instead:
- The TPMS light stays on after you have correctly inflated every tire, including the spare. The sensor or system may need service.
- A tire keeps losing air over days or weeks. A slow leak from a nail, a damaged valve, or a bad bead seal needs a professional repair.
- You see a bulge, crack, or cut in the sidewall, or the tread is worn down to the wear bars. These tires should be inspected and likely replaced.
- You are not sure of the correct PSI and cannot find the door label or owner's manual. A reputable shop can confirm it for your exact vehicle and tire setup.
How Often Should You Check Tire Pressure?
NHTSA recommends checking tire pressure at least once a month, and the spare too. Also check before any long road trip, when the vehicle is heavily loaded, and whenever the seasons turn.
Temperature matters more than people expect. Tire maker General Tire notes that tire pressure can fluctuate about 1 PSI for every 10 degrees Fahrenheit of temperature change, so a cold snap can pull a properly inflated tire below its target within a day. A NHTSA study found that about 12 percent of passenger vehicles had at least one tire underinflated by 25 percent or more, which shows how easily pressure slips when no one is watching.
Frequently Asked Questions
What is the correct tire pressure for my car?
Should I check tire pressure when tires are hot or cold?
Why does my tire pressure light come on in cold weather?
How often should I check my tire pressure?
Can I just rely on the TPMS warning light instead of checking?
Related Topics
If this how-to was useful, these sibling articles tighten the same loop:
- Decoding Your Tire Placard: Where to Find Your Correct PSI
- How Long Do Tires Last?
- Tire Safety & Blowout Statistics 2026
- Why It's Important to Invest in High-Quality Tires
- How Drive-Out Tire Pricing Works (And How to Find It Cheap)
Methodology & Sources
This how-to draws on official NHTSA tire-safety guidance, federal motor vehicle safety standard FMVSS No. 138 (the regulation that defines what the TPMS dashboard light actually warns about), tire-maker technical resources from Bridgestone and General Tire, and federal fuel-economy data from the U.S. Department of Energy's fueleconomy.gov. The procedure described — cold check, door-jamb PSI, monthly cadence, gauge over dashboard light — is what the federal regulator and the tire manufacturers themselves recommend.
- NHTSA — Tire Safety / TireWise — Official guidance on cold inflation pressure, monthly checks, the door-jamb placard, and the spare. Used for the cold-tire rule, where to find PSI, and the monthly-check cadence.
- eCFR — 49 CFR 571.138 (FMVSS No. 138, Tire Pressure Monitoring Systems) — Federal motor vehicle safety standard that defines the 25%-below-recommended warning threshold for the TPMS dashboard light. Used for the TPMS section and the 'why a monthly gauge check still matters' point.
- Bridgestone — How to Check Tire Pressure — Tire-maker guidance defining a cold tire (parked 3+ hours OR driven less than a mile at moderate speed) and the recommended monthly routine. Used for the cold-tire definition and the 'fill a few PSI high when warm' tip.
- General Tire — The Importance of Proper Tire Pressure — Tire-maker reference for the temperature-pressure rule of thumb: tire pressure changes about 1 PSI for every 10°F change in ambient temperature. Used for the cold-weather TPMS-light callout and the seasonal-check guidance.
- U.S. Department of Energy / fueleconomy.gov — Gas Mileage Tips — Federal fuel-economy guidance: proper tire inflation can improve gas mileage by about 0.6% on average and up to 3% in some cases. Used in the opening paragraph.
- NHTSA — Tire-Related Surveys (DOT HS 813 617, November 2024) — Federal underinflation prevalence data: roughly 1 in 8 passenger vehicles surveyed had at least one tire underinflated by 25% or more. Used to ground the 'how easily pressure slips' point.
- NHTSA — Tire Pressure Monitoring System Final Rule (FMVSS No. 138) — Original 2005 final rule that mandated TPMS on light vehicles beginning with the 2008 model year. Used for the 'most vehicles built since 2008' line.
Keep Your Tires Set, and Shop Smarter When It's Time to Replace
Checking tire pressure is a five-minute monthly habit that pays off in safer handling, longer tire life, and better fuel economy. Find your vehicle's cold PSI on the door jamb, check each tire and the spare with a gauge, add or release air to hit the target, and do not wait for the warning light, which only fires once a tire is already 25 percent low.
When the tread finally wears out and it is time for new tires, the next challenge is price. Shops quote the tire but hide installation, balancing, fees, and tax, so the same tire can cost hundreds of dollars more a few miles away. SearchTires is a free tool that shows the drive-out price, the all-in out-the-door number, for matching tires at shops near you. Search your tire size or vehicle on SearchTires to compare drive-out prices near you.